Tools You Need to Build Your Own Sewing Table at Home
If you’ve been sewing for a while or even if you’re just dipping your toes into it, you eventually get the itch to build something that fits you better than anything store-bought. And honestly, sewing tables are one of those things. Too high, too low, not enough storage, wobbly corners… we’ve all dealt with that. So, you’re building your own sewing table at home? Makes sense. And it’s not as complicated as people assume.
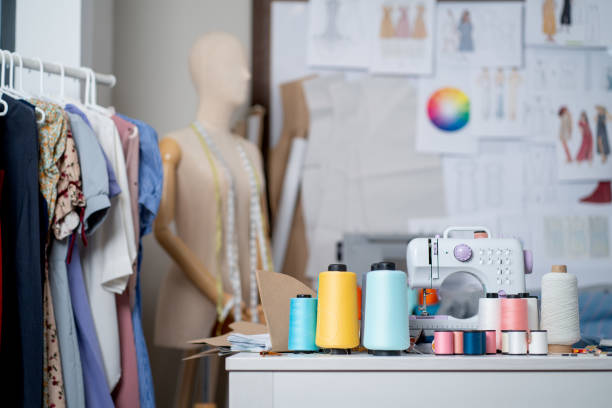
Whether you’ve been shopping around fabric stores in Oklahoma city or scrolling inspiration boards at midnight, the right tools can make the whole process smoother. A custom table means you decide the height, the space for your machine, the shelves for fabric, and all of it. And once you’ve got it dialed in, sewing gets easier, almost peacefully. Plus, it’s fun. Kind of messy, but fun.
Before you dive in, let’s go through the tools you absolutely need, plus a few extras that make the whole process feel less like a chore and more like a creative project. And if you want help, inspo, or a place to sew away from home, Sew Social is always there with open doors and a warm vibe.
Why Build Your Own Sewing Table?
Sewing tables sold in stores can be hit or miss. Some look nice but wobble like crazy. Some have storage, but somehow, none of the storage you actually need. And some are priced like they’re carved from gold, not plywood.
Building your own lets you:
- Set your perfect machine height
- Add storage where you want it
- Make room for quilting, cutting, or embroidery setups
- Avoid fighting with tiny workspaces
- Save money (most of the time)
- Create something that feels like it belongs in your sewing world
And honestly… It’s satisfying to say, “Yeah, I built that.” There’s a kind of quiet pride in making your own workspace.
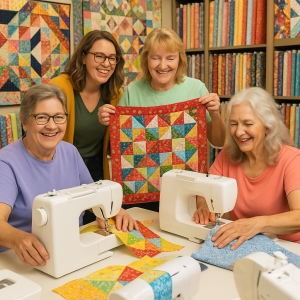
If you sew at community studios, you already know this: everyone has preferences. Some swear by low tables; others need something higher to save their back. And places like Sew Social prove that the right setup keeps you sewing longer and happier.
Essential Tools to Build Your Sewing Table
Here’s where we get into the good stuff. Building a DIY sewing table isn’t rocket science, but you do need the right tools, or you’ll spend most of your time swearing at wood instead of enjoying the process.
Small paragraphs, clear sections, nothing too polished. Let’s go.
1. Measuring Tape (A Reliable One, Not the Bendy Old One)
This sounds obvious, but a good measuring tape honestly makes or breaks the build. You’re measuring height, machine width, drop-down cutouts, shelf spacing, and everything else. If your tape is stretched, kinked, or older than your first sewing machine, don’t use it.
Accurate measurements = a table that actually works.
2. A Circular Saw or Table Saw
You can make do with a handsaw, but… do you really want to? That’s a whole workout you didn’t sign up for. A circular saw or table saw gives you clean cuts that line up nicely. Your sewing machine will sit straighter. Your edges won’t look like a beaver chewed them. The whole project feels more put-together.
If woodworking tools scare you, don’t stress. Everyone starts somewhere. And if you get stuck, pop into Sew Social. Someone there always has advice, even if you didn’t ask for it.
3. Power Drill + Screwdriver Set
A power drill is essential. You’ll drill pilot holes, screw panels together, tighten brackets, attach hinges. You get the idea. Having both screw bits and drill bits saves you from switching tools over and over.
Quick tip: don’t skip pilot holes. Skipping them is how you end up cracking wood and saying things you don’t want kids to hear.
4. Sandpaper (Several Grits)
Even if you want a rustic look, you don’t want splinters. Smooth edges make a table feel way more “I built this on purpose” and less like you dragged it out of the garage. Start rough, finish smooth.
5. Wood Glue
People underestimate wood glue. But if you want your table to survive more than one quilting season, glue is your friend. It adds strength in places that screws can’t reach. It’s the quiet hero.
6. Clamps
These are the third hand you wish you had. When you’re attaching tops, sides, or shelves, clamps hold things while you drill or glue. Without them, everything slides, and you lose your cool.
7. A Level (Seriously, Don’t Skip This)
Your sewing machine must sit on a level surface, or the vibration gets wild. Even a slight tilt feels off when you’re piecing quilts or stitching long seams. A $10 level solves all of that.
8. Paint or Wood Finish
Once your table is built, protect it. Paint, stain, or sealant, whatever matches your style. This isn’t just for looks; it keeps fabric from snagging and gives you a smooth, clean workspace.
And honestly, adding color is fun. Makes it feel yours.
Smart Extras That Make Sewing Easier
Not required but extremely helpful:
- Soft-close hinges
- Locking wheels for mobility
- LED strip lights underneath
- A fold-out side extension
- Built-in rulers or cutting mats
- Cable holes for tidy power cords
These little things can turn a basic sewing table into a dream setup. And if you don’t want to build them yourself, you can always swing by Sew Social, learn from other makers, or see what they’re using in their drop-in studio.
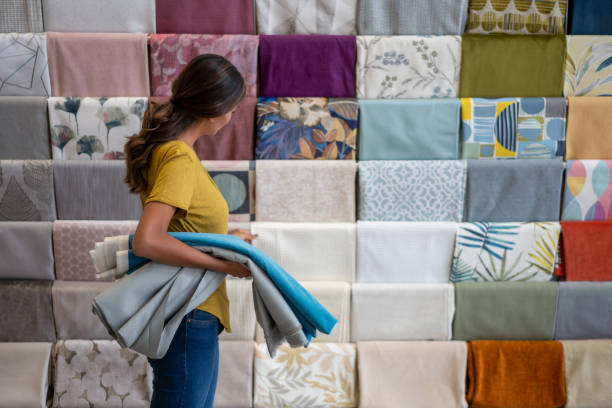
Choosing the Right Materials
Wood choices matter. Here’s the quick and honest rundown:
- Plywood: Cheap, sturdy, paint-friendly.
- MDF: Smooth but heavy, and it hates moisture.
- Pine boards: Lightweight and easy to cut, but they can dent.
- Oak or maple: Gorgeous but expensive.
Most people go with plywood for the base and a stronger hardwood top if they want something more polished. But hey, it’s your table; make it how you want it.
Build Your Table the Way You Sew
Some people sew quilts and need huge flat surfaces. Some have small machines and just need a simple corner desk. And some folks are running embroidery machines the size of a small car.
Think about:
- How much space does your machine need?
- Whether you want a drop-down cutout
- If you press beside your machine,
- Where your fabric piles end up (be honest)
- Whether your table should move or stay put
A sewing table that fits your habits makes everything easier. Less fuss, less frustration, more making.
And if you’re looking for inspiration, Sew Social’s studio is a great place to see real-world setups from real sewists, not just Pinterest perfection. The women there are always building, tweaking, and upgrading. You’ll pick up ideas fast.
Your Sewing Space Should Make You Want to Create
It is something about entering a room as though it were a part of you. A table at the right height. Tools within reach. Fabric piled up (or piled up neatly enough). A rattling machine is replaced by a humming machine.
One of the most useful things you can do is to make your sewing table on your own so that your work will be simpler and more pleasant. It doesn’t have to be fancy. It just needs to fit you.
And once you are ready to take classes, to be inspired, or simply to sew together with other people rather than in seclusion, go to Sew Social. Our studio is cozy, playfu,l and full of female folks who understand why sewing is their therapy half of the time.
Want community? Want to learn new skills? Need a creative reset?
Visit Sew Social today to build your own sewing table.
Classes, drop-in studio, maker business support, monthly sewcials… It’s all there.
FAQs
1. What kind of tools would I require in case I want to make my own sewing table at home?
In case you are planning to create your own sewing table, you will need such basic tools as a saw, drill, clamps, level, sandpaper, and strong wood glue. Begin small; you do not have to have a complete workshop. Home might be as basic as a setup, and you can always improvise on the way. Oklahoma City can also assist you in finding the materials and advice in fabric stores.
2. What should the height of a DIY sewing table be?
The sewers would like a table size between 28 and 30 inches; yet again, it all depends on the chair and the position. You do not want your arms stretched away, either upward or downward. When you are quilting, some people raise it a notch higher to protect their backs when they are making long cuts.
3. Should I include a drop-down zone in my machine?
The sewing can be easier when a drop-down is used since the machine will be on the same plane as the table. But it’s optional. You can miss it if you change machines frequently. When you spend all your time on one machine, it is worth the extra effort.
4. What is the best kind of wood to use in constructing a sewing table?
Plywood is not expensive, and it is powerful, which is why it is an excellent choice to use in the majority of amateur constructions. MDF is smooth but heavy. Hardwoods are more expensive and attractive. Frankly, the finest wood is that which fits your budget, equipment, and the degree of ruggedness that you desire your table to possess.